How to set up staff logins and roles
Create logins for your office staff and teachers, and control exactly what each of them can see and do — without asking a developer.
What you'll do
- 1Create a role for each job in your school office — Principal, Accountant, Class Teacher, Front Office.
- 2Tick the permissions each role should have.
- 3Create a login for each staff member.
- 4Assign the right role to each login.
Every person who logs in — a teacher, an accountant, the front office — should see only what their job needs. That's controlled in two places: Roles & Permissions defines the jobs, and Users & Staff creates the actual logins and assigns a role to each one. Set roles up first, since you'll pick from them while creating staff.
Budget about fifteen minutes to get your first few roles and staff right — after that, adding one more person takes under a minute.
Step 1 — Create your roles
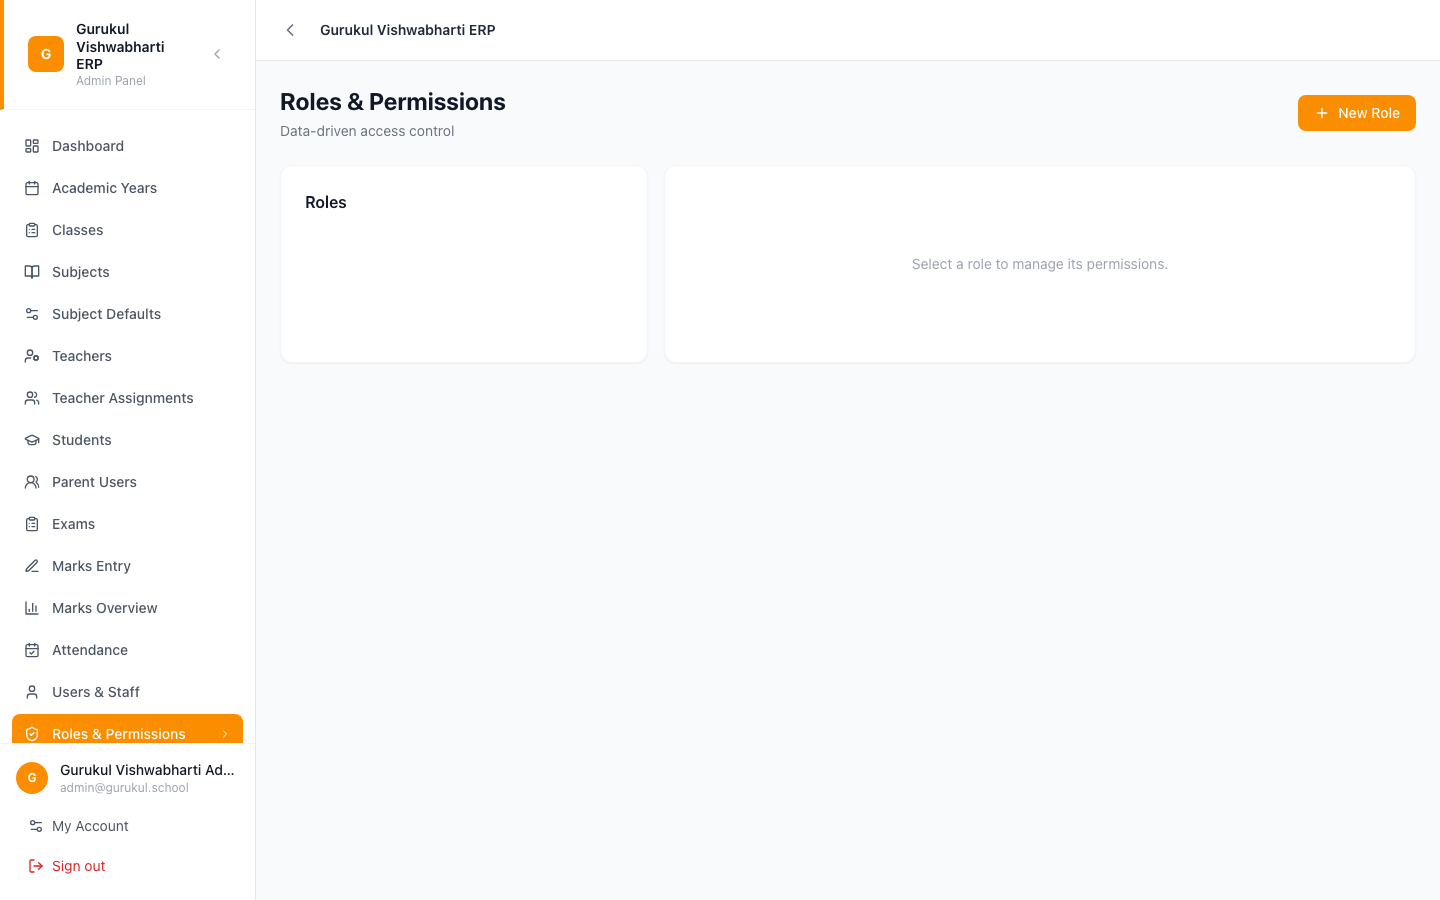
Go to Roles & Permissions. Click New Role, give it a Role Name (at least 2 characters — something like "Accountant" or "Class Teacher") and an optional Description, then save. The role starts with no permissions at all.
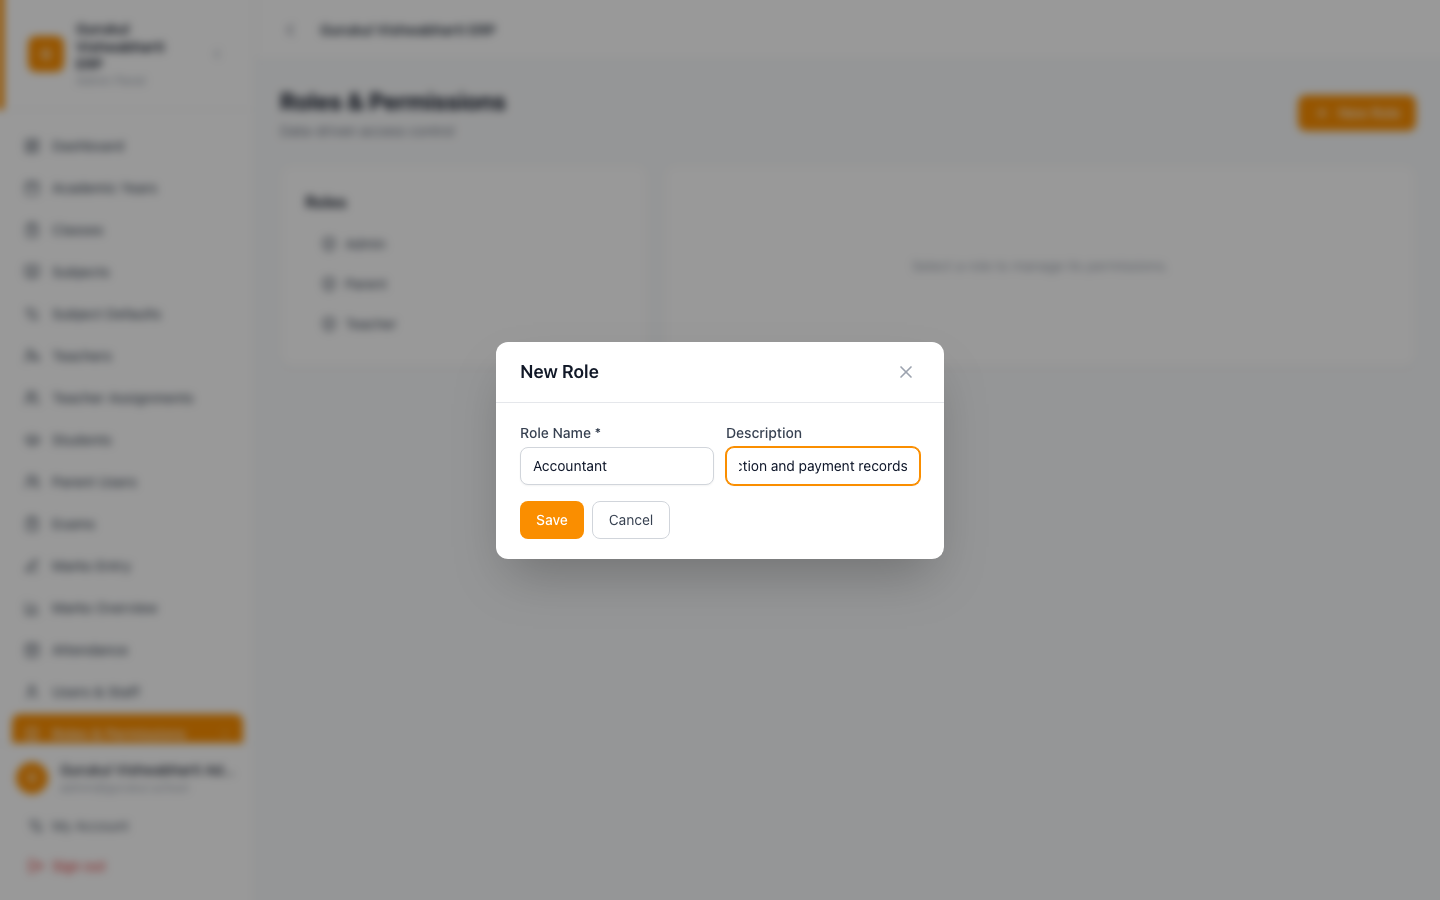
Create one role per job your school actually has, rather than one role per person. Two accountants can share an "Accountant" role; you don't need "Accountant 1" and "Accountant 2".
Step 2 — Tick the permissions for each role
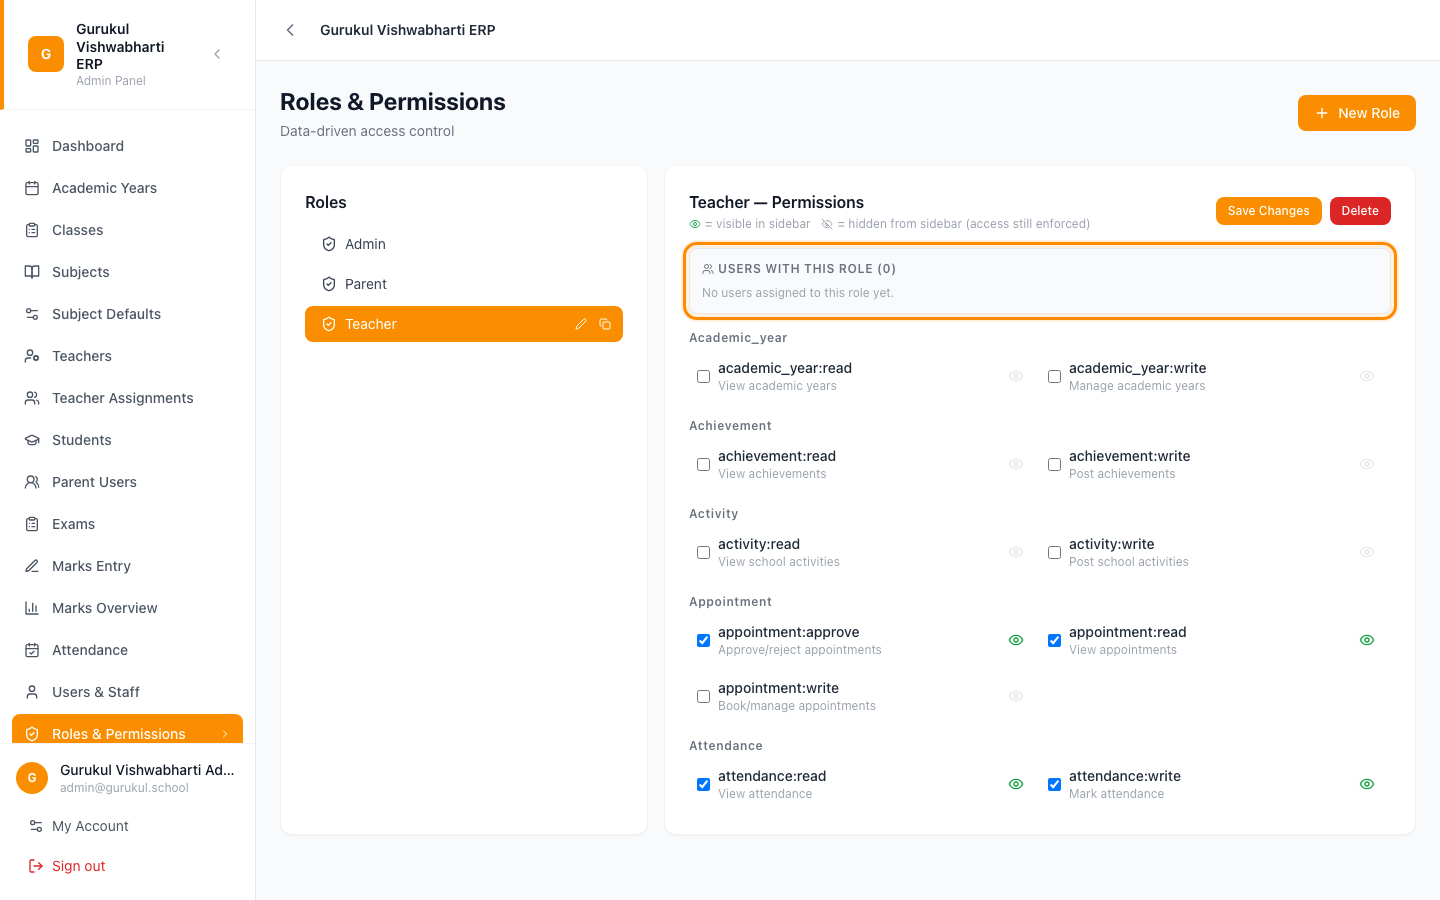
Click a role in the list to open its permissions panel. Permissions are grouped by area — student, fee, exam, attendance, and so on — each as a checkbox with a short description.
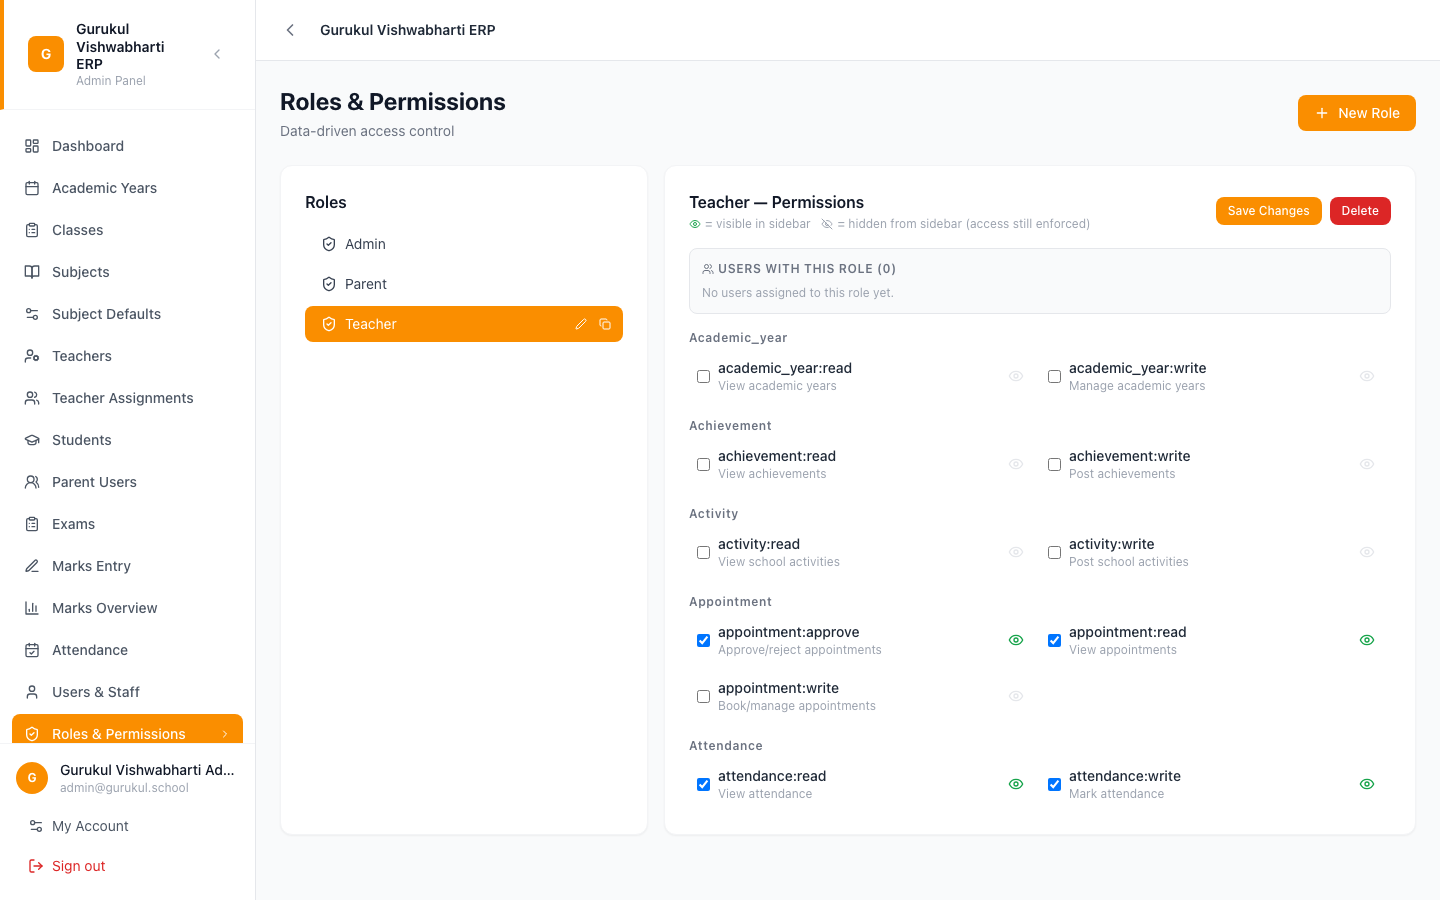
Tick everything that role needs, then click Save Changes. Nothing is saved until you click it — ticking boxes alone doesn't take effect.
A few real examples:
| Role | Permissions to tick |
|---|---|
| Accountant | fee:read, fee:write, payment:read — not result:read or exam:create |
| Class Teacher | student:read, attendance:write, marks:entry, homework:write |
| Front Office | student:read, student:write, parent_user:read |
Each permission has its own eye icon next to it. This controls whether the matching tab appears in that role's sidebar — it's separate from the permission itself:
- Eye open (green) — the tab shows in the sidebar for anyone with this role.
- Eye crossed out — the tab is hidden from the sidebar, but the access is still granted. Use this when someone needs a permission behind the scenes (a class teacher filtering students by class, say) without needing the full management screen in their menu.
The eye icon only works once the permission itself is ticked — it's greyed out otherwise.
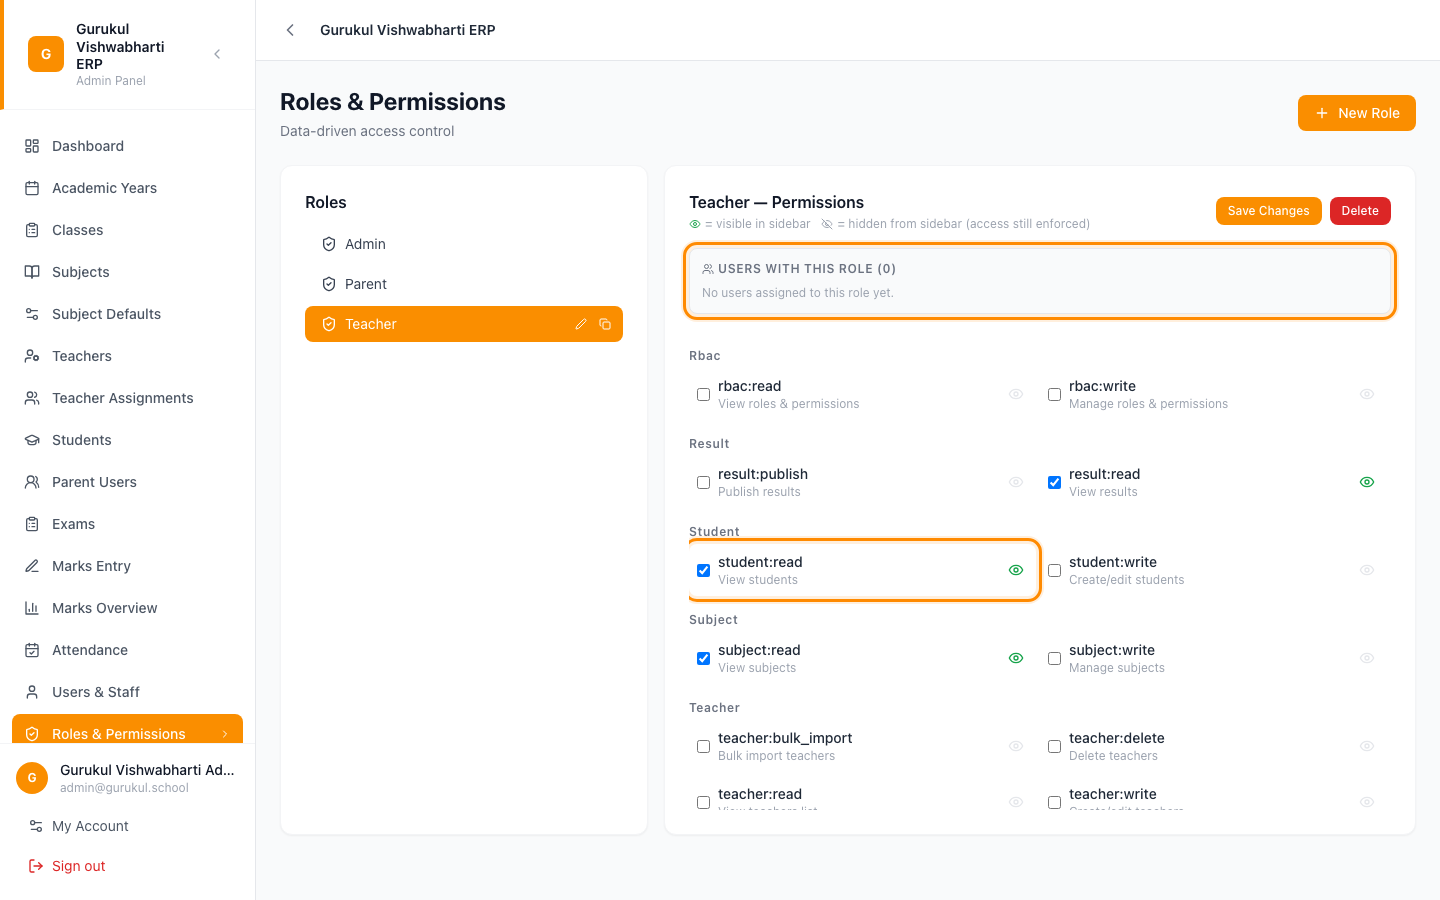
Two more things worth knowing on this screen: the copy icon next to a role duplicates it — including all of its permissions — so setting up a second, similar role (say, "Senior Accountant" from "Accountant") is a copy and a few tweaks rather than starting over. And opening a role also shows who currently has it, so before deleting a role you can see exactly who'd lose access.
Step 3 — Create a login for each staff member
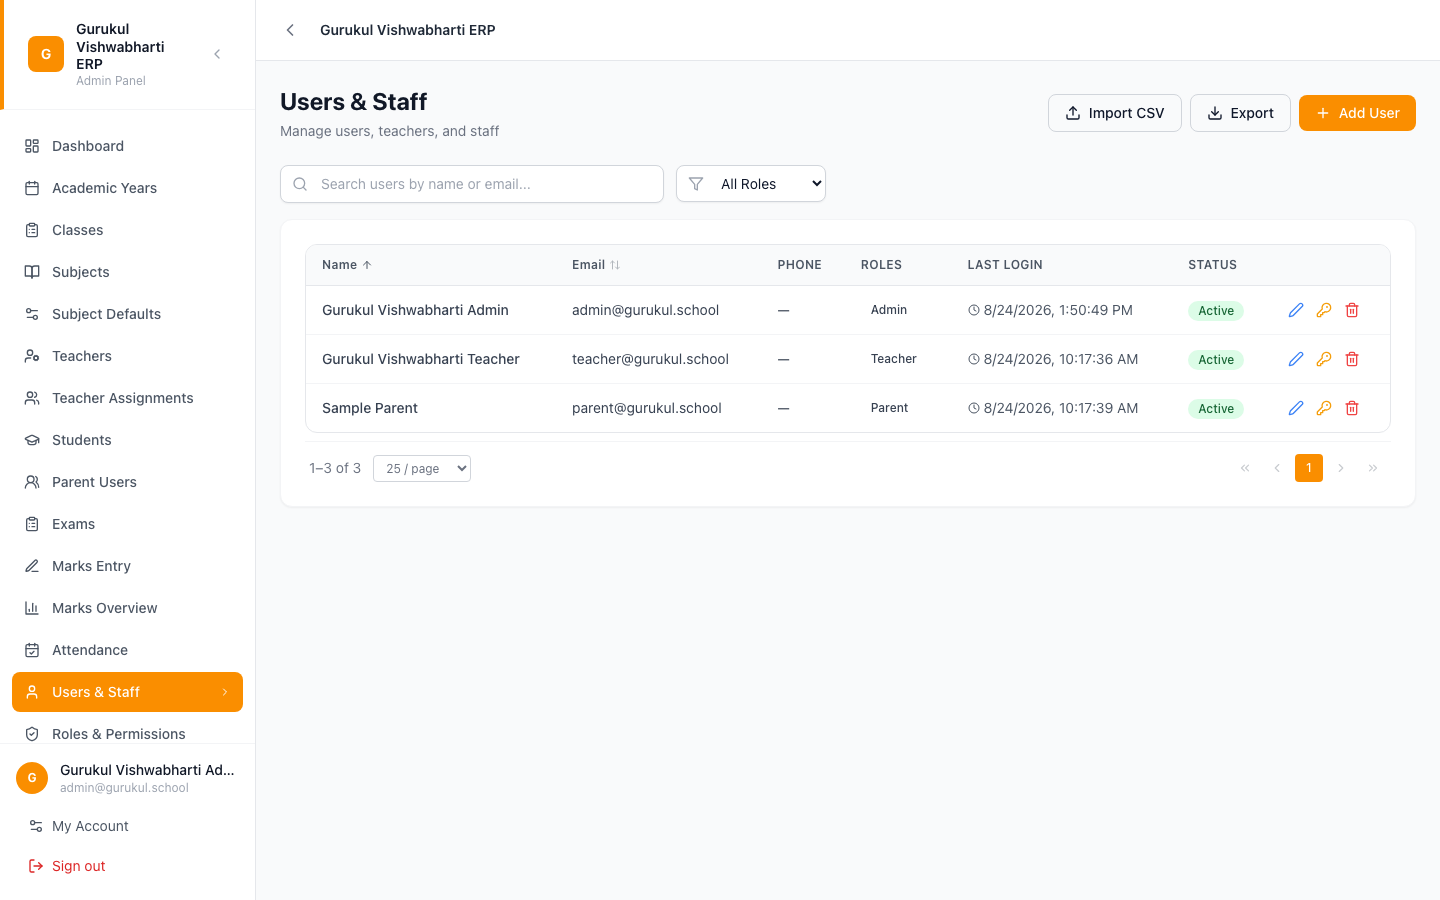
Go to Users & Staff and click Add User. Fill in:
- Full Name and Email — required.
- Phone — optional.
- Password — required for a new login, at least 6 characters. There's no auto-generated password and no credentials email from this screen — you set it here and tell the staff member directly.
- Assign Roles — tick the role(s) from Step 1. A person can hold more than one role.
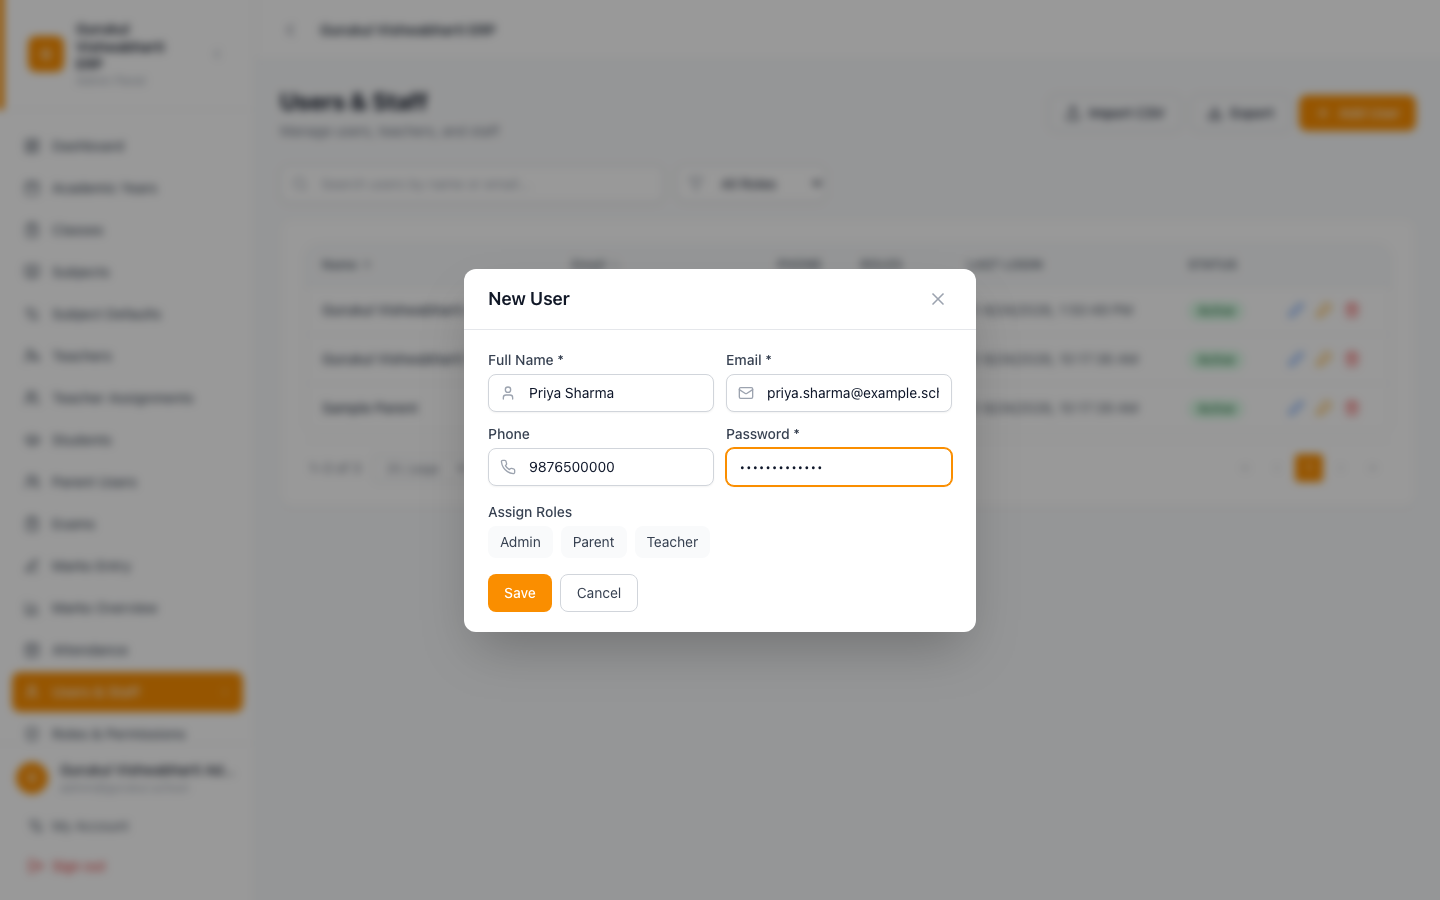
Click Save.
Step 4 — Adding many staff at once
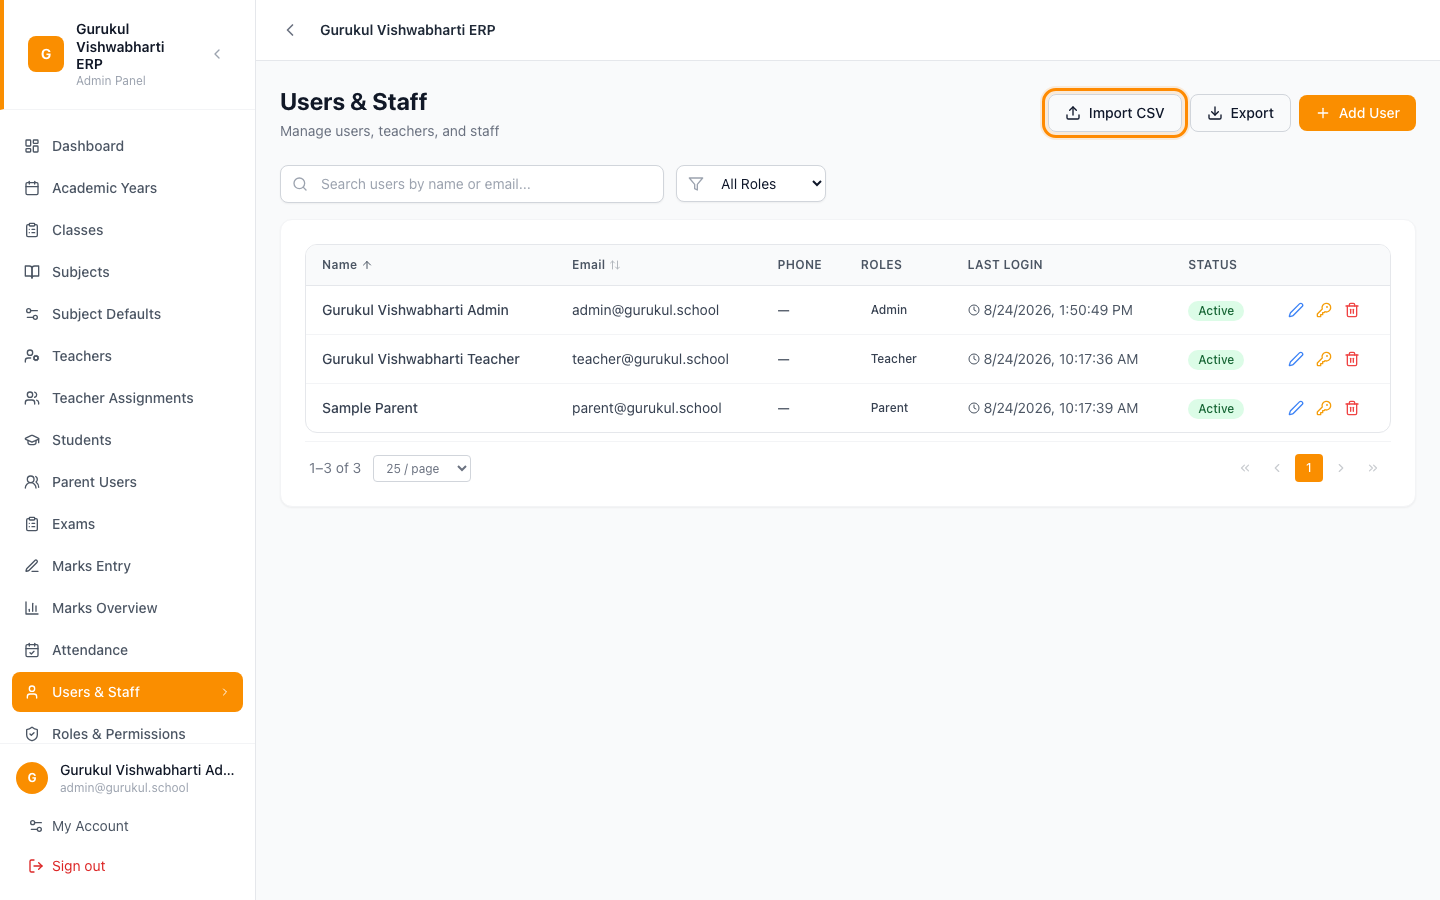
Import CSV on the Users & Staff screen accepts a file with full_name and email
columns (required), plus optional phone and role columns.
Every imported user gets the same temporary password (TempPass123!) and starts
active immediately — tell your staff to change it, or reset each one individually from
Set Password (the key icon next to their name) once they're in.
The role column in the CSV is not applied. Bulk-imported staff are created with no
role at all — you still need to open each one afterwards and assign a role from the
Edit screen, the same as Step 3. Treat CSV import as a fast way to create logins, not
a complete onboarding step in itself.
Managing staff after they're set up
- Deactivate, not delete. Removing access from someone who has left is a single click (the trash icon), and it's reversible — a deactivated login can be reactivated from the same row if needed. Their history (marks entered, attendance marked) stays intact either way.
- Reset a forgotten password yourself from Set Password — no email flow to wait on.
- Export the current staff list to CSV at any time, including each person's roles and last login date.
Common problems
A staff member can't see a tab they need. Check two things: does their role have the matching permission ticked (Step 2), and is that permission's eye icon showing as open? A hidden permission still grants access at the URL, but the tab won't appear in their sidebar.
Bulk-imported staff have no access to anything. Expected — see Step 4. Open each one and assign a role.
You deleted a role by mistake. Roles can't be recovered once deleted, but permission sets are quick to rebuild — or better, use the copy icon on a similar role next time before making changes to it.
Features covered
Users & Staff
The full list of everyone with a login — admins, teachers, accountants, front-office staff — with the ability to create, edit, deactivate or reset a password for any of them.
Roles & Permissions
Define job roles — Principal, Accountant, Class Teacher, Front Office — and tick exactly which actions each is allowed, then assign a role to each staff member. Tabs can also be hidden from the menu without removing the underlying access.
Want us to set this up with you?
Data migration and staff training are included on every plan.
Talk to us